
Marriage of convenience . . . .
This photo is of my great grandmother Clara standing in the breezeway between two structures on the homestead, circa 1922. Both structures were moved from their original sites, which were nearby homesteads that had been relinquished. The log house was moved yet again a few hundred yards to the west in 1938 to become the newlywed home of my parents and a lean-to was built on the cottage, which moved for the second time to ranch headquarters about five miles southeast in the late 1950’s where it stands today.

The “bunkhouse” . . . .
I undertook painting the little house for the first time when I was a teenager. Very few homestead houses ever saw paint, which was an extravagance few of the early pioneers could afford. After relocation from the homestead, it became the “bunkhouse” and was home to a cast of characters that worked as hired hands on the ranch. It was still heated with a wood stove in the early years.

Waiting to be in service again . . . .
A hail storm damaged the roof in the 1980’s and Dad replaced the west side of the roof with asbestos shingles, leaving cedar shingles on the east. In the 1990’s I engaged a local carpenter to replace a broken floor joist and lay a concrete block foundation which finally stabilized the structure, which was still standing on the wooden blocks it was placed on when it came from the homestead site. In 2001 I repainted the exterior for the second time in my life, and made a few minor repairs, replacing some trim and broken window panes. By this time the “bunkhouse” was used for storage and considered unfit for human habitat.

Old and new . . . .
My lifelong love for this old structure started getting into my pocketbook in a more serious vein in 2005 when I had the roof finished (fortunately I was able to match the same color shingles as Dad had installed) and we hung a new ceiling. The old beaver board had warped and was stained with water leaks from the failing roof, but the wooden cross beams were still in good condition. I matched the paint color, repainted them and we hung them back up over new ceiling tiles, replacing a few that broke in the process. We laid insulation in the attic and buried an electrical line that eventually will help with lights and ancillary heat.

Design elements . . . .
The carpenter who built the little house was skilled and added some ornamental elements that I treasure. The interior was painted green sometime in the 1950’s and a new paint job is badly needed, as can be evidenced by the fly specks, paint splatters and heaven only knows what else that adorns the walls. I purchased paint to redo the interior several years ago, and plan to take it back to the colors that existed when my great grandparents resided here. I have some concern about removing the green paint splashes from the antelope horns that are part of the original fixture. It’s a great hat rack and I don’t want to break it!
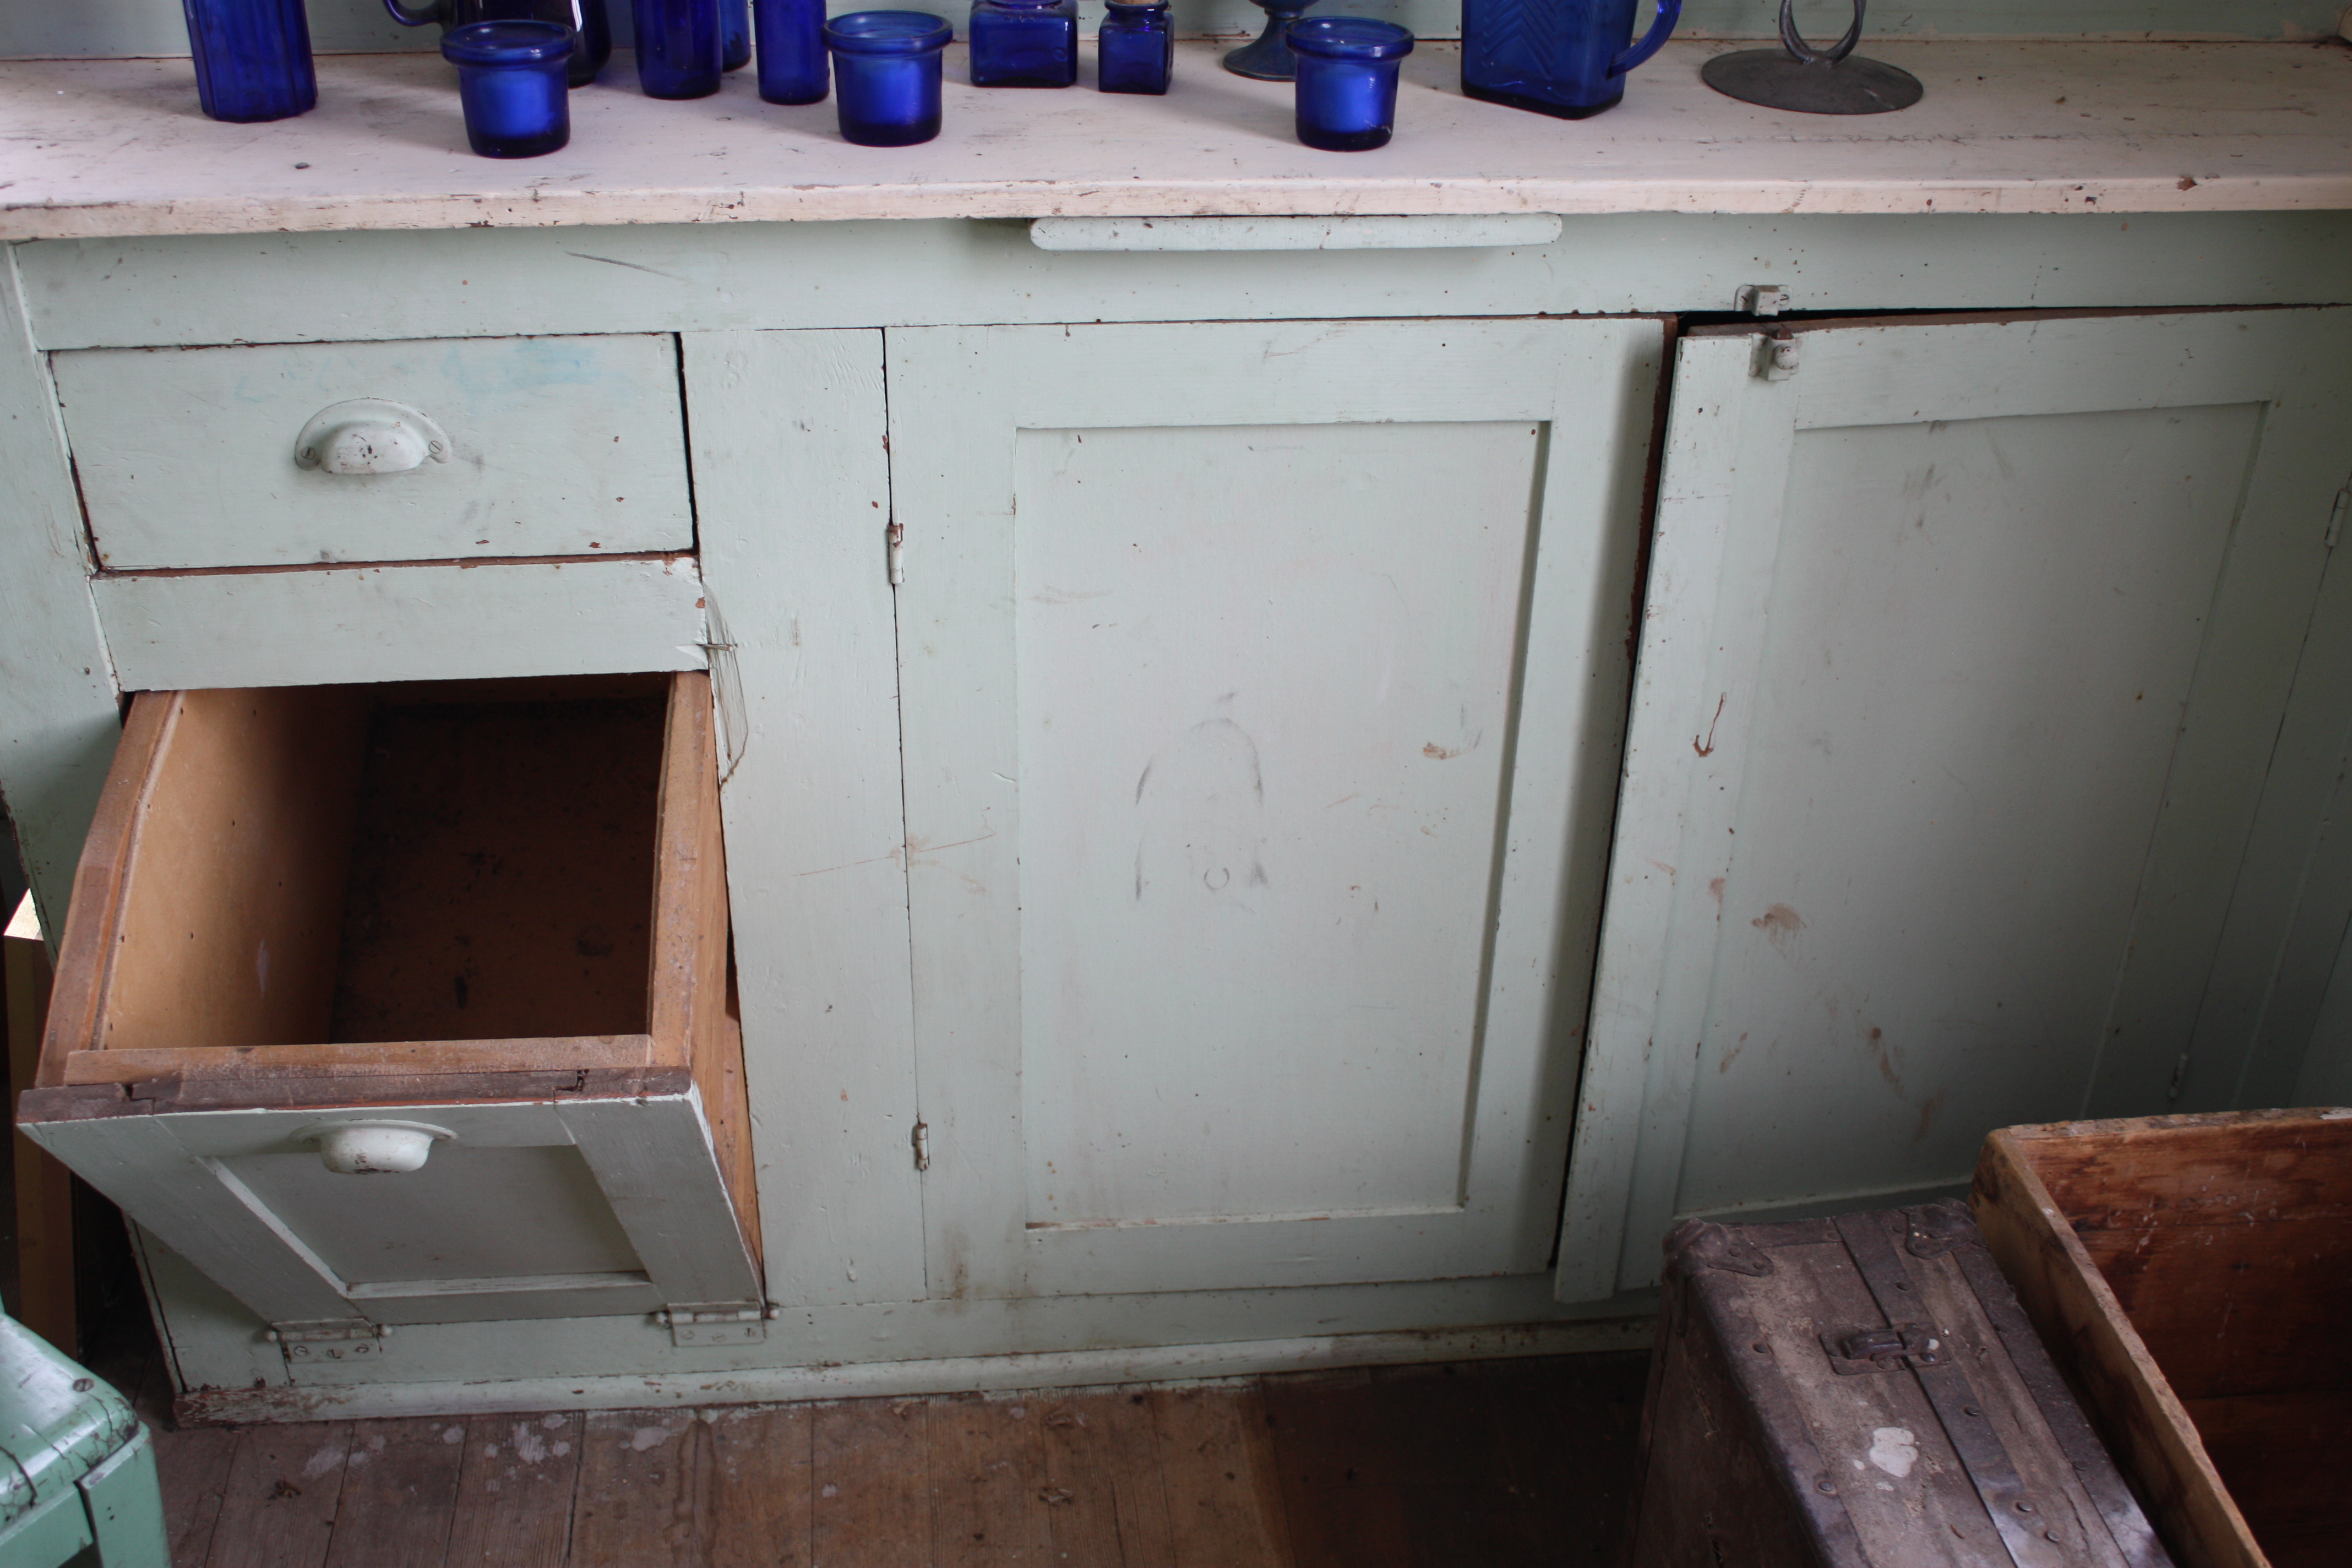
Kitchen built-ins . . . .
The flower bin still functions, as does the pull-out kneading board under the kitchen counter. The cupboards are built into the wall and have stood the test of time.

Upper kitchen cupboards . . . .
The interior of the cupboards was lined with wall paper and the interiors will all need to be scraped and cleaned thoroughly. Years of vet supplies, household cleaners, and miscellaneous junk left quite a mess.

Door to the root cellar . . . .
Doesn’t everyone have a trap door in the floor leading underground? The root cellar was where you stored food to keep it cool. I recently toured our homestead site where the little house sat and the foundation stones, as well as the dug out area of the cellar are still visible.

Safety lock . . . .
A new and final phase of restoration is underway. Considering how many years I have devoted to this project over my lifetime, that is probably an exaggeration! Nevertheless, a plan to re-install the wood stove and chimney, replace rotted window sills, re glaze the windows, paint the interior, caulk, replace one or both of the doors, add screen doors, complete the electrical hookup and whatever else turns up should make it a delightful little guest cottage.

Looks like work . . . .
Removing windows that have been in place for nearly 100 years is a job requiring patience and more skill than I have, however I am persevering. Each layer of trim and supporting structure that holds the windows in place has been saved, except the linen-looking rags that were used for weather stripping! I will attempt to use something else to install the windows as air-tight as possible. I won’t use caulking, as it makes it impossible to remove the windows for future repairs.

Window repair shop . . . .
After refurbishing 20 windows in our historic chicken house, re-doing five for the homestead house seems like a cake walk. Still, this is a job! Removing the old glazing is the worst of it. I have had to replace some window panes that I broke trying to get the points and putty dug out. I have three windows glazed and painted with oil-base primer. I will remove the remaining two windows as we install new sills all around. Once all the windows are restored and in place, I will finish painting the interior. And my great grandmother Clara is invited to be our first guest.

You continue to amaze me, girl. A whirling dervish, you are!
LikeLike